The CIMAP application can be downloaded here,
and the CIMAP applet can be accessed here.
CIMAP Application Download Instructions:
- Download the java class file bundle at
http://rio.ecs.umass.edu/cimap/memilio/cimap.tar.gz
- Linux: unzip and untar cimap.tar.gz
Windows: unzip cimap.tar.gz (using a program like WinZip)
This will create a directory called nvt at your current directory.
- Make sure that the Java Runtime Environment is installed on your computer,
JRE version 1.3 or higher is recommended. A list of current and previous
versions of JRE can be downloaded at
http://java.sun.com/j2se/.
The JSDK is not required to run the application.
- If the database functionality of CIMAP is desired, download and install
MySql, and also download com.mysql.jdbc connector to MySql at: http://www.mysql.com/downloads/api-jdbc-stable.html,
otherwise you may just skip this step and proceed to step 5.
- (IMPORTANT) Set the PATH and CLASSPATH environment variable to the
correct locations of the JRE, the CIMAP application, and the MySql driver(if
you use it).
Linux: If you are using the bash(default), edit the ~/.bash_profile file by
add the following line:
PATH=$PATH:$JAVAHOME/bin:$JAVAHOME/jre:$MYSQL_BRIDGE_DIR/mysql-connector-java-3.0.8-stable-bin.jar:$NVTHOME/classes/:.
CLASSPATH=$PATH
Save the file and make sure the environment variables are effective.
Windows(with minor difference on various windows versions): Control Panel
-> System -> Advanced -> environment variables
Add/modify the PATH and CLASSPATH variable, apply and make sure they are
effective in the DOS command window.
- Open a terminal. Use the following
command:
java nvt.gui.Application
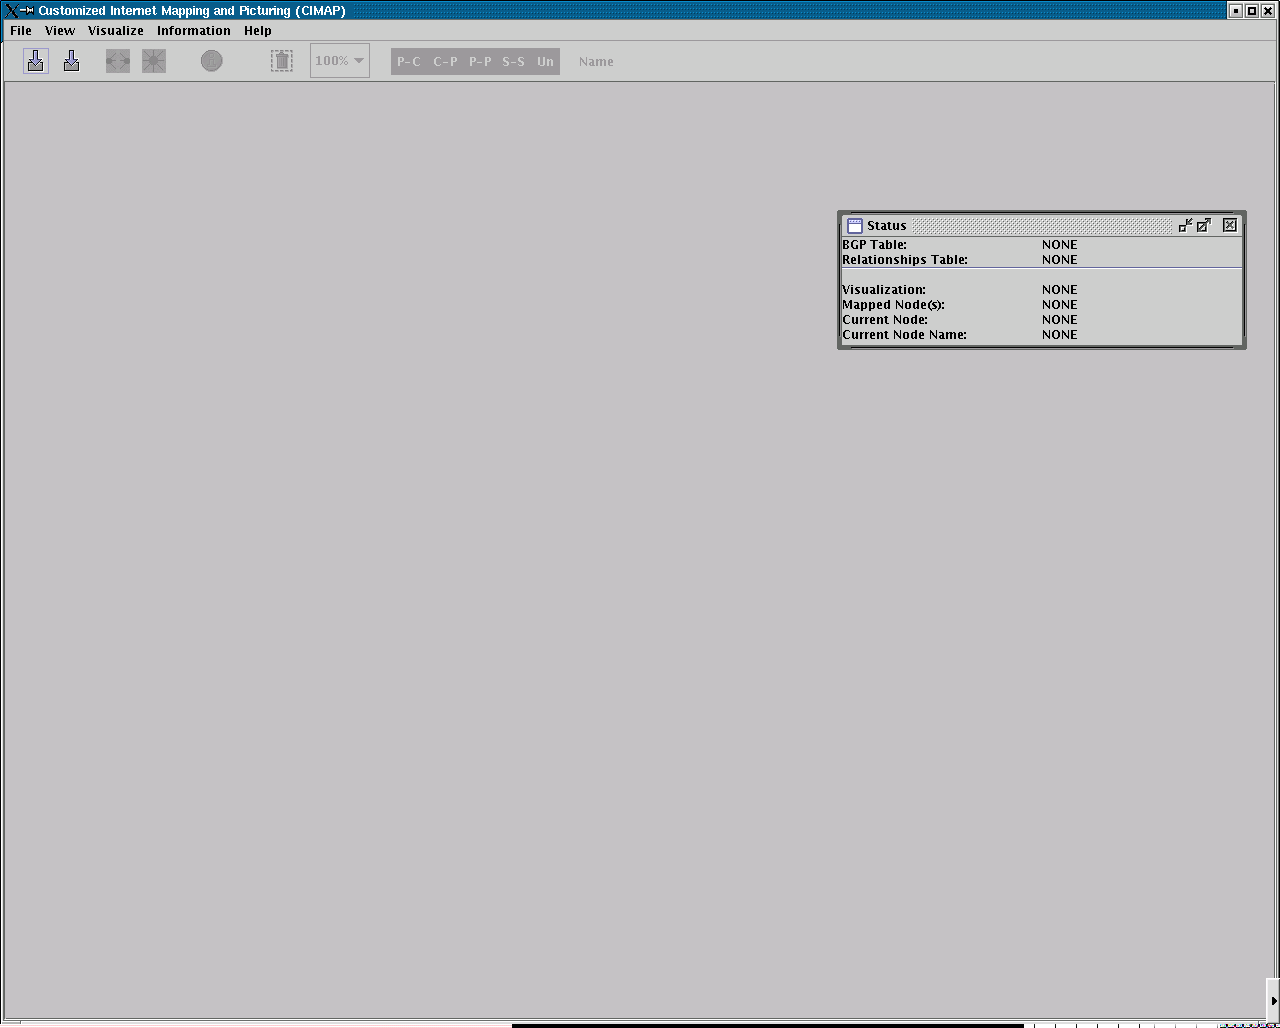
to launch CIMAP. The CIMAP main window should look similar to
If the application does not start up, return to step 5 and check if the
directory and the environment variables match with each other.
To get started:
- The CIMAP software requires at least one copy of the BGP routing table to
operate on. One of the most comprehensive BGP conglomerate is the
Oregon Route View project.
To get the BGP table, the Oregon BGP archive can be accessed at: http://archive.routeviews.org/oix-route-views.
The BGP downloaded BGP tables need to be decompressed first before it to be
loaded by CIMAP.
To use the BGP table, use the application's File -> Parse BGP table
command from the drop-down menu to parse it.
- Create a Relationship file from the BGP table using File -> Parse
Relationships File from the drop-down menu.
- Also download a file containing the numbers and names of ASes.
- If database functionality is desired, after following the setup database
instructions (below), use File -> Configure Database Access to set the
host, port number, username and password for database access. Then use File
-> Import File Into DB to choose a bgp file, a relationships file, and
then an as file to be imported into the database.
A sample BGP table and a relationship file is provided with the CIMAP tar
ball and is located at $CIMAP_HOME/example/
For menu help and more specific information about the CIMAP applet
functionalities, please visit here.